Trail Tech Vapor universal mount 022-OEB
I just installed the Trail Tech Vapor (752-301) onto my 2014 Suzuki DR-Z400SM. At about 3300 miles, the stock speedometer stopped working because Suzuki decided to put a piece of plastic garbage on to act as the speed sensor. Luckily, the Trail Tech uses a much more reliable magnetic wheel sensor instead of a plastic gear.
That was the main driving force behind this purchase and installation, but the tachometer was a nice added bonus (the stock DR-Z dash does not include a tachometer and is very basic).
I should note that the Vapor does not come with indicator lights for turn signals, high beam, coolant temp, neutral,etc by default, but can be added with an add-on unit. I haven’t installed the add-on unit at this time.
I will go over the different hook-ups and sensors individually.
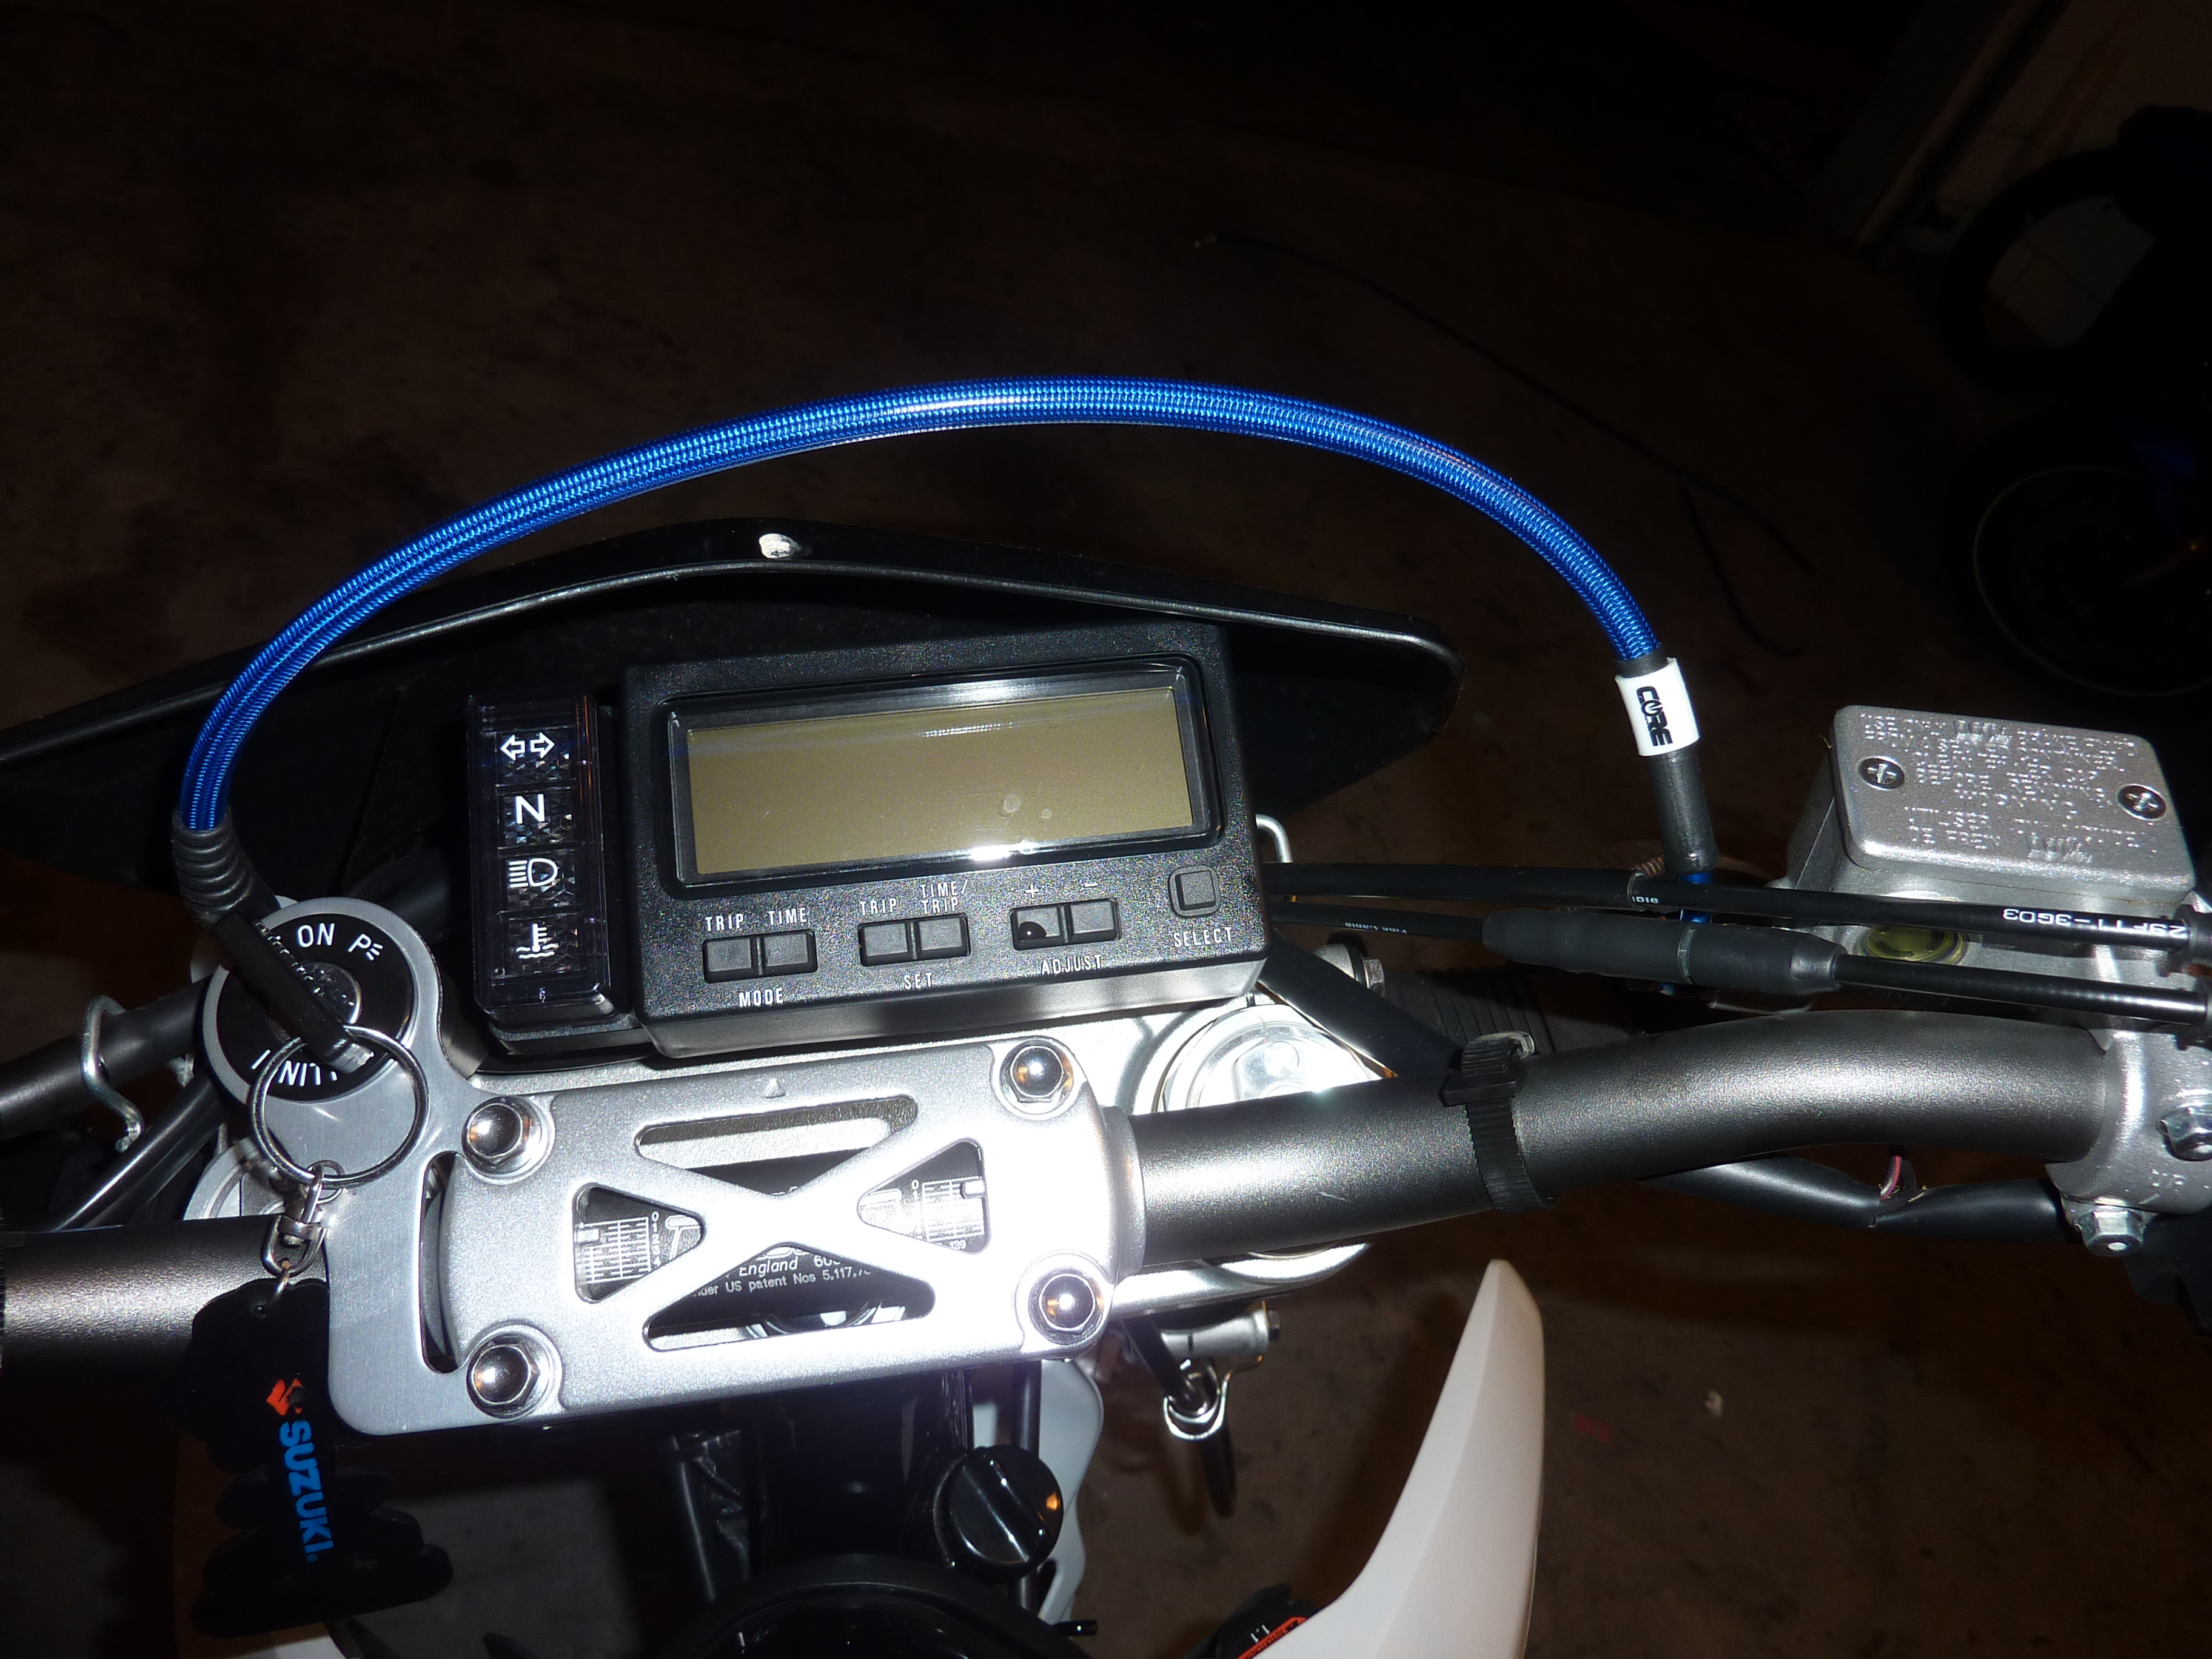
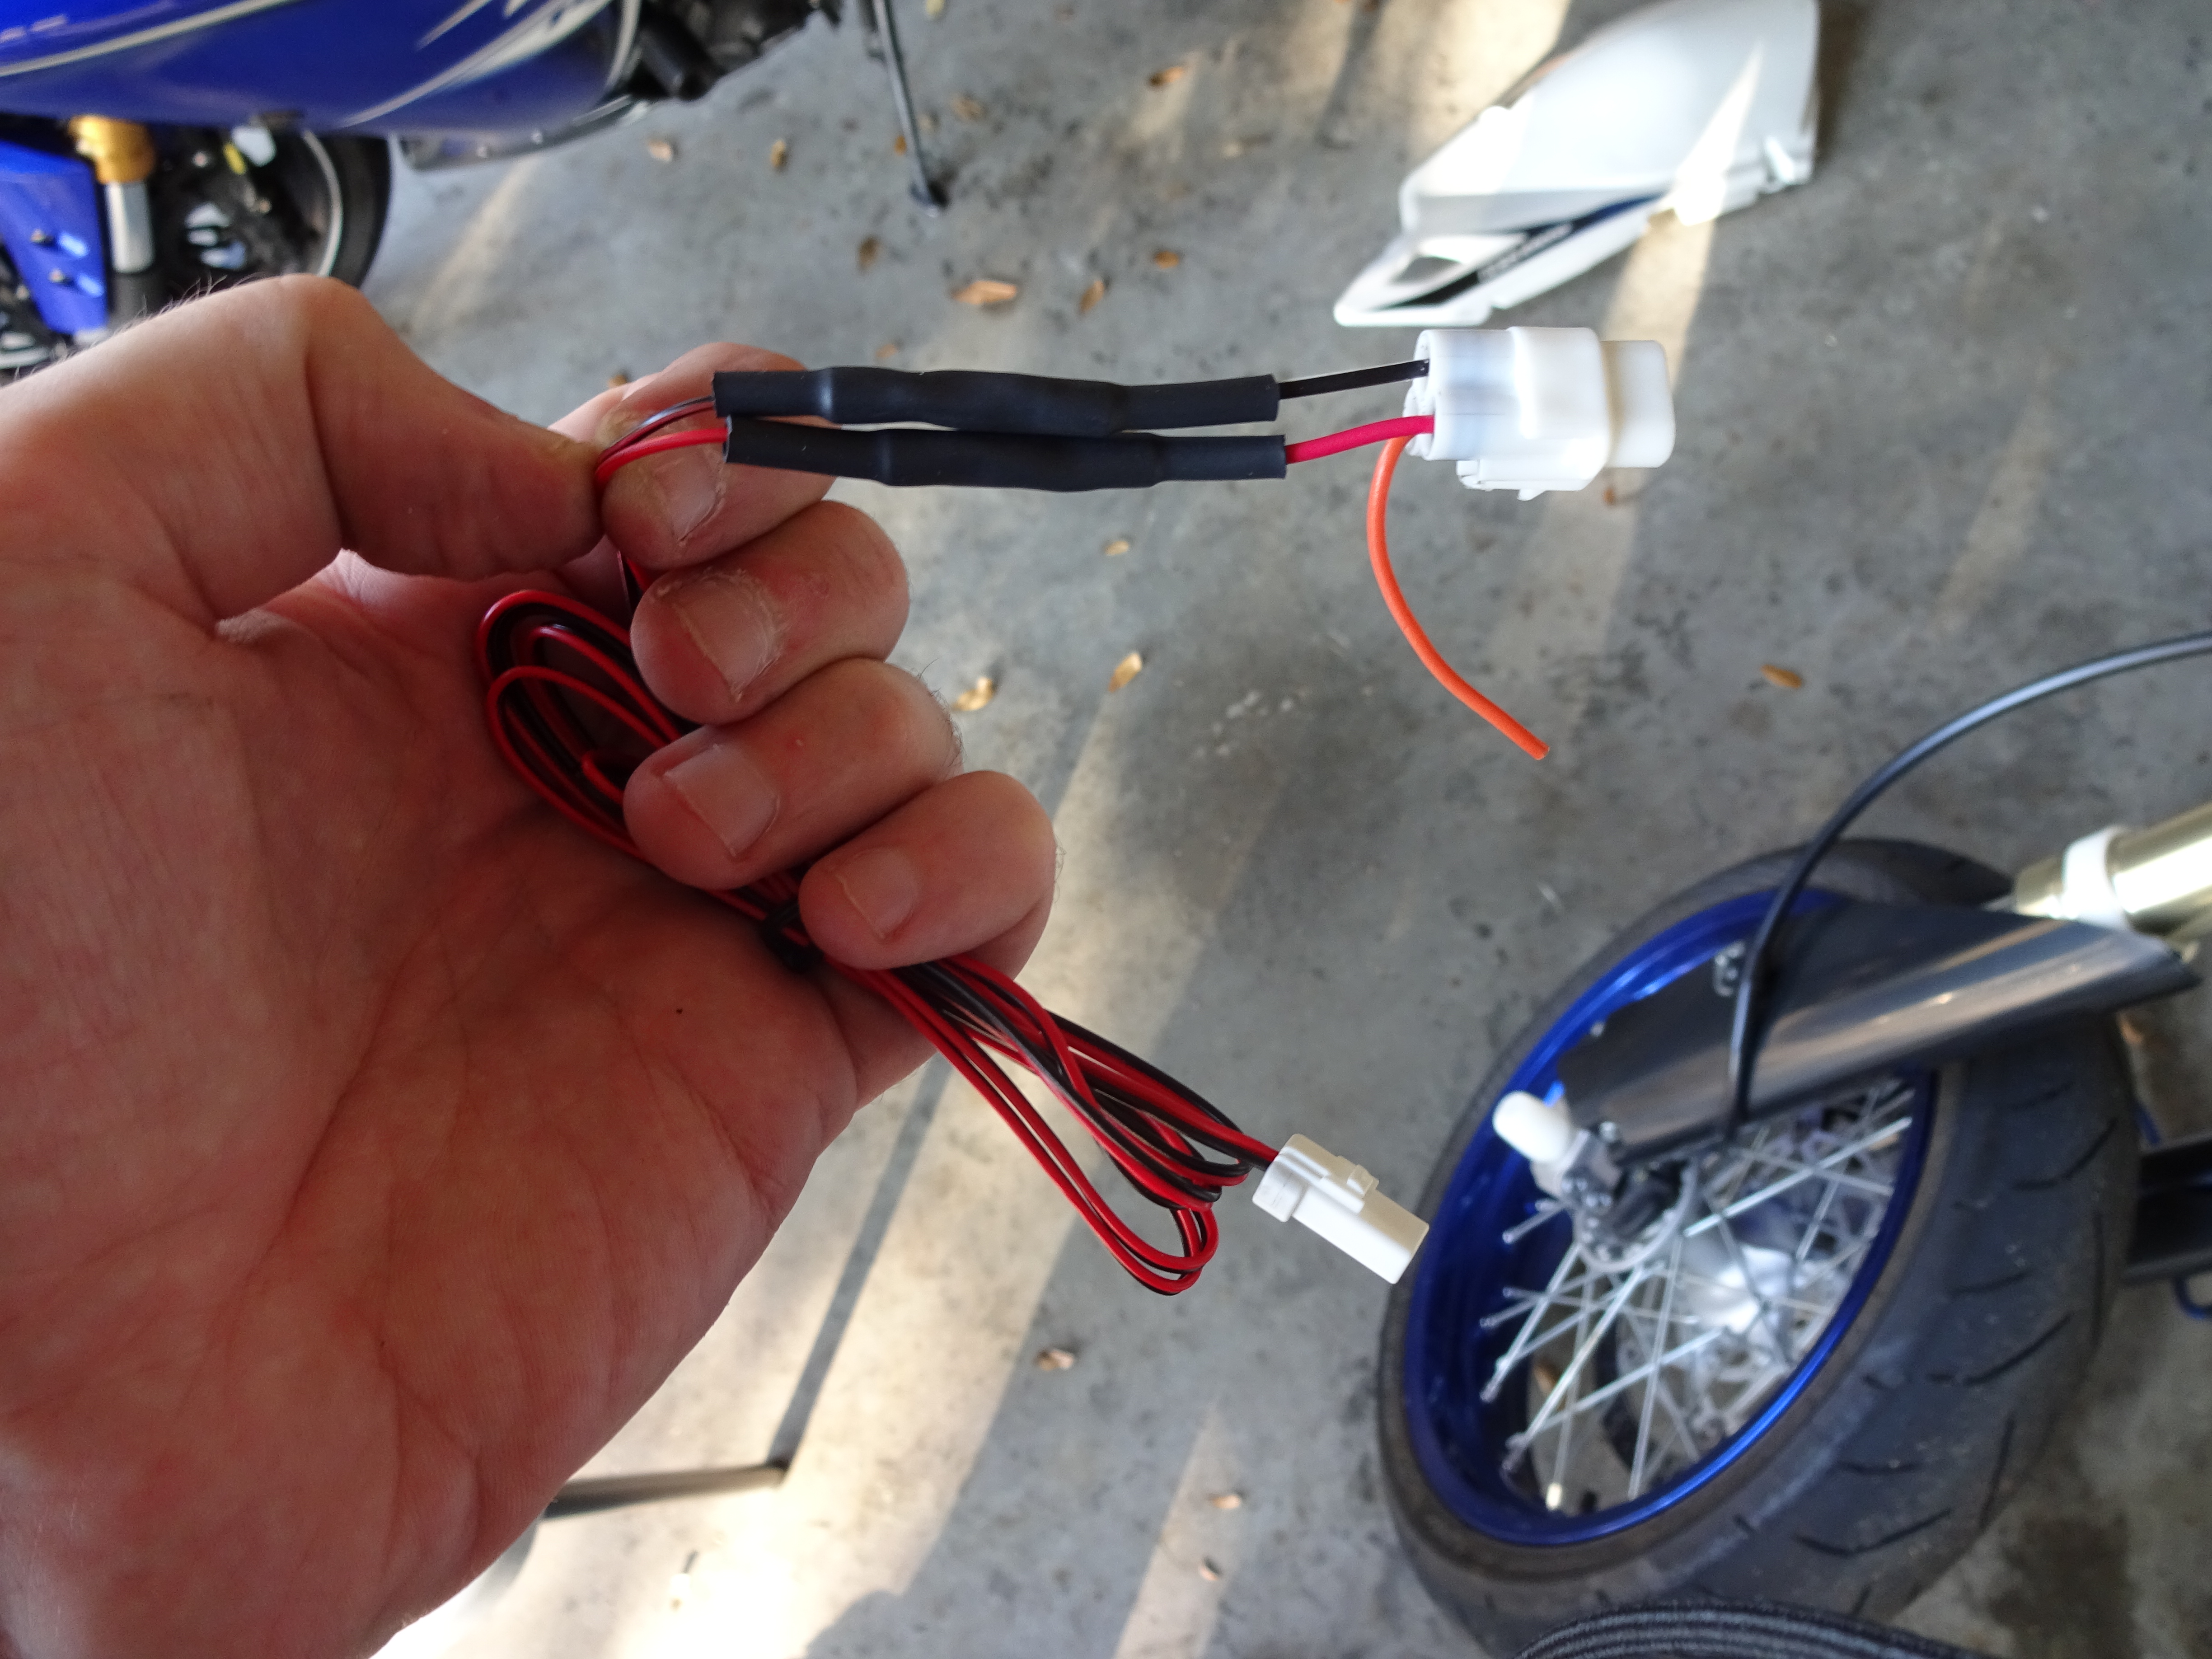
1: Power
![]()
The Vapor needs a constant 12V power source with a 1A fuse in the circuit. Luckily, the stock dash has a 3 wire connector that powers the unit. I was able to simply disconnect the plug and cut the harness off of the stock speedometer. It has 3 wires: red, black, and orange. The red is the 12v power, black is ground, and orange is key-on power. I simply spliced the red and black Vapor wires onto the red and black wires of the harness, ignoring the orange wire, which worked perfectly and gave me a nice clean harness to plug into.
2: Tachometer/RPM Sensor
(Requires removal of gas tank) The RPM sensor is a single wire that is red at the end. Simply coil the red part around the thick black spark plug wire 6-12 times. I ended up with about 10, then wrapped it in electrical tape to keep it in place. This is good enough for the graph portion of the tach to be functional, but I have the issue where the digital numeric readout jumps back and forth from actual to low at every other reading. I will likely splice the wire into the spade-connector at the spark plug for a more accurate reading in the future, but it’s good enough for now.
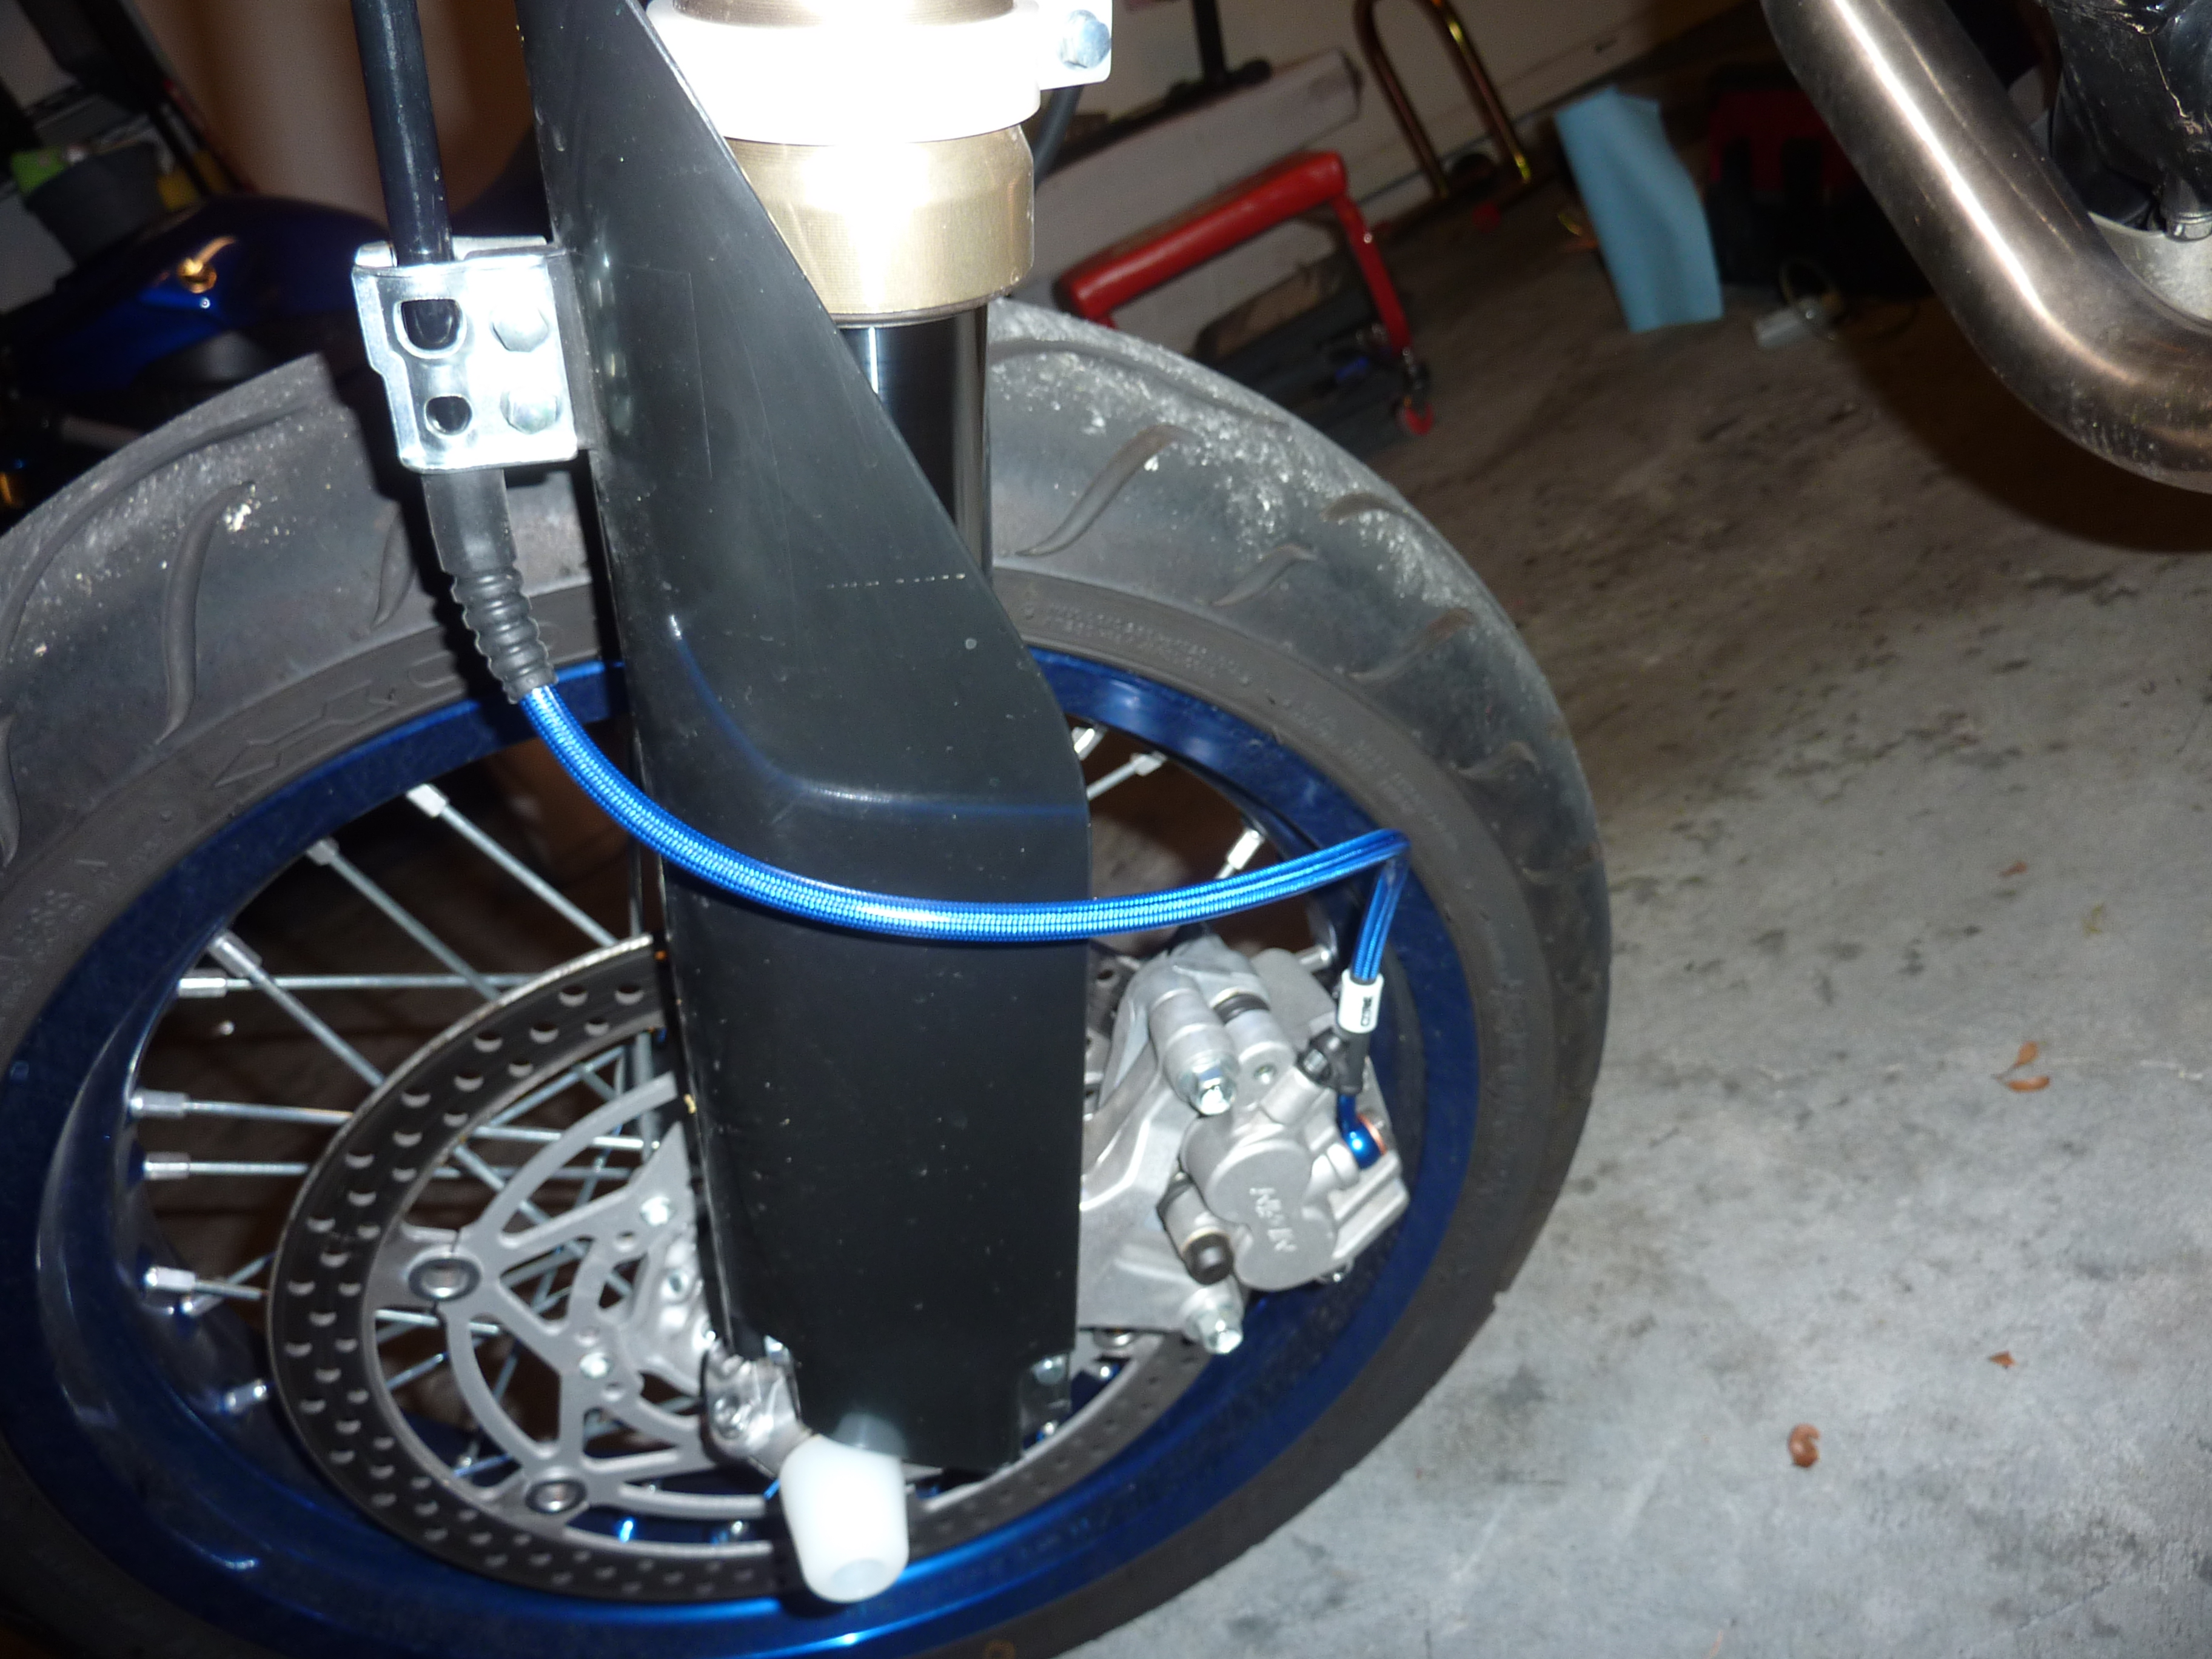
3: Speedometer
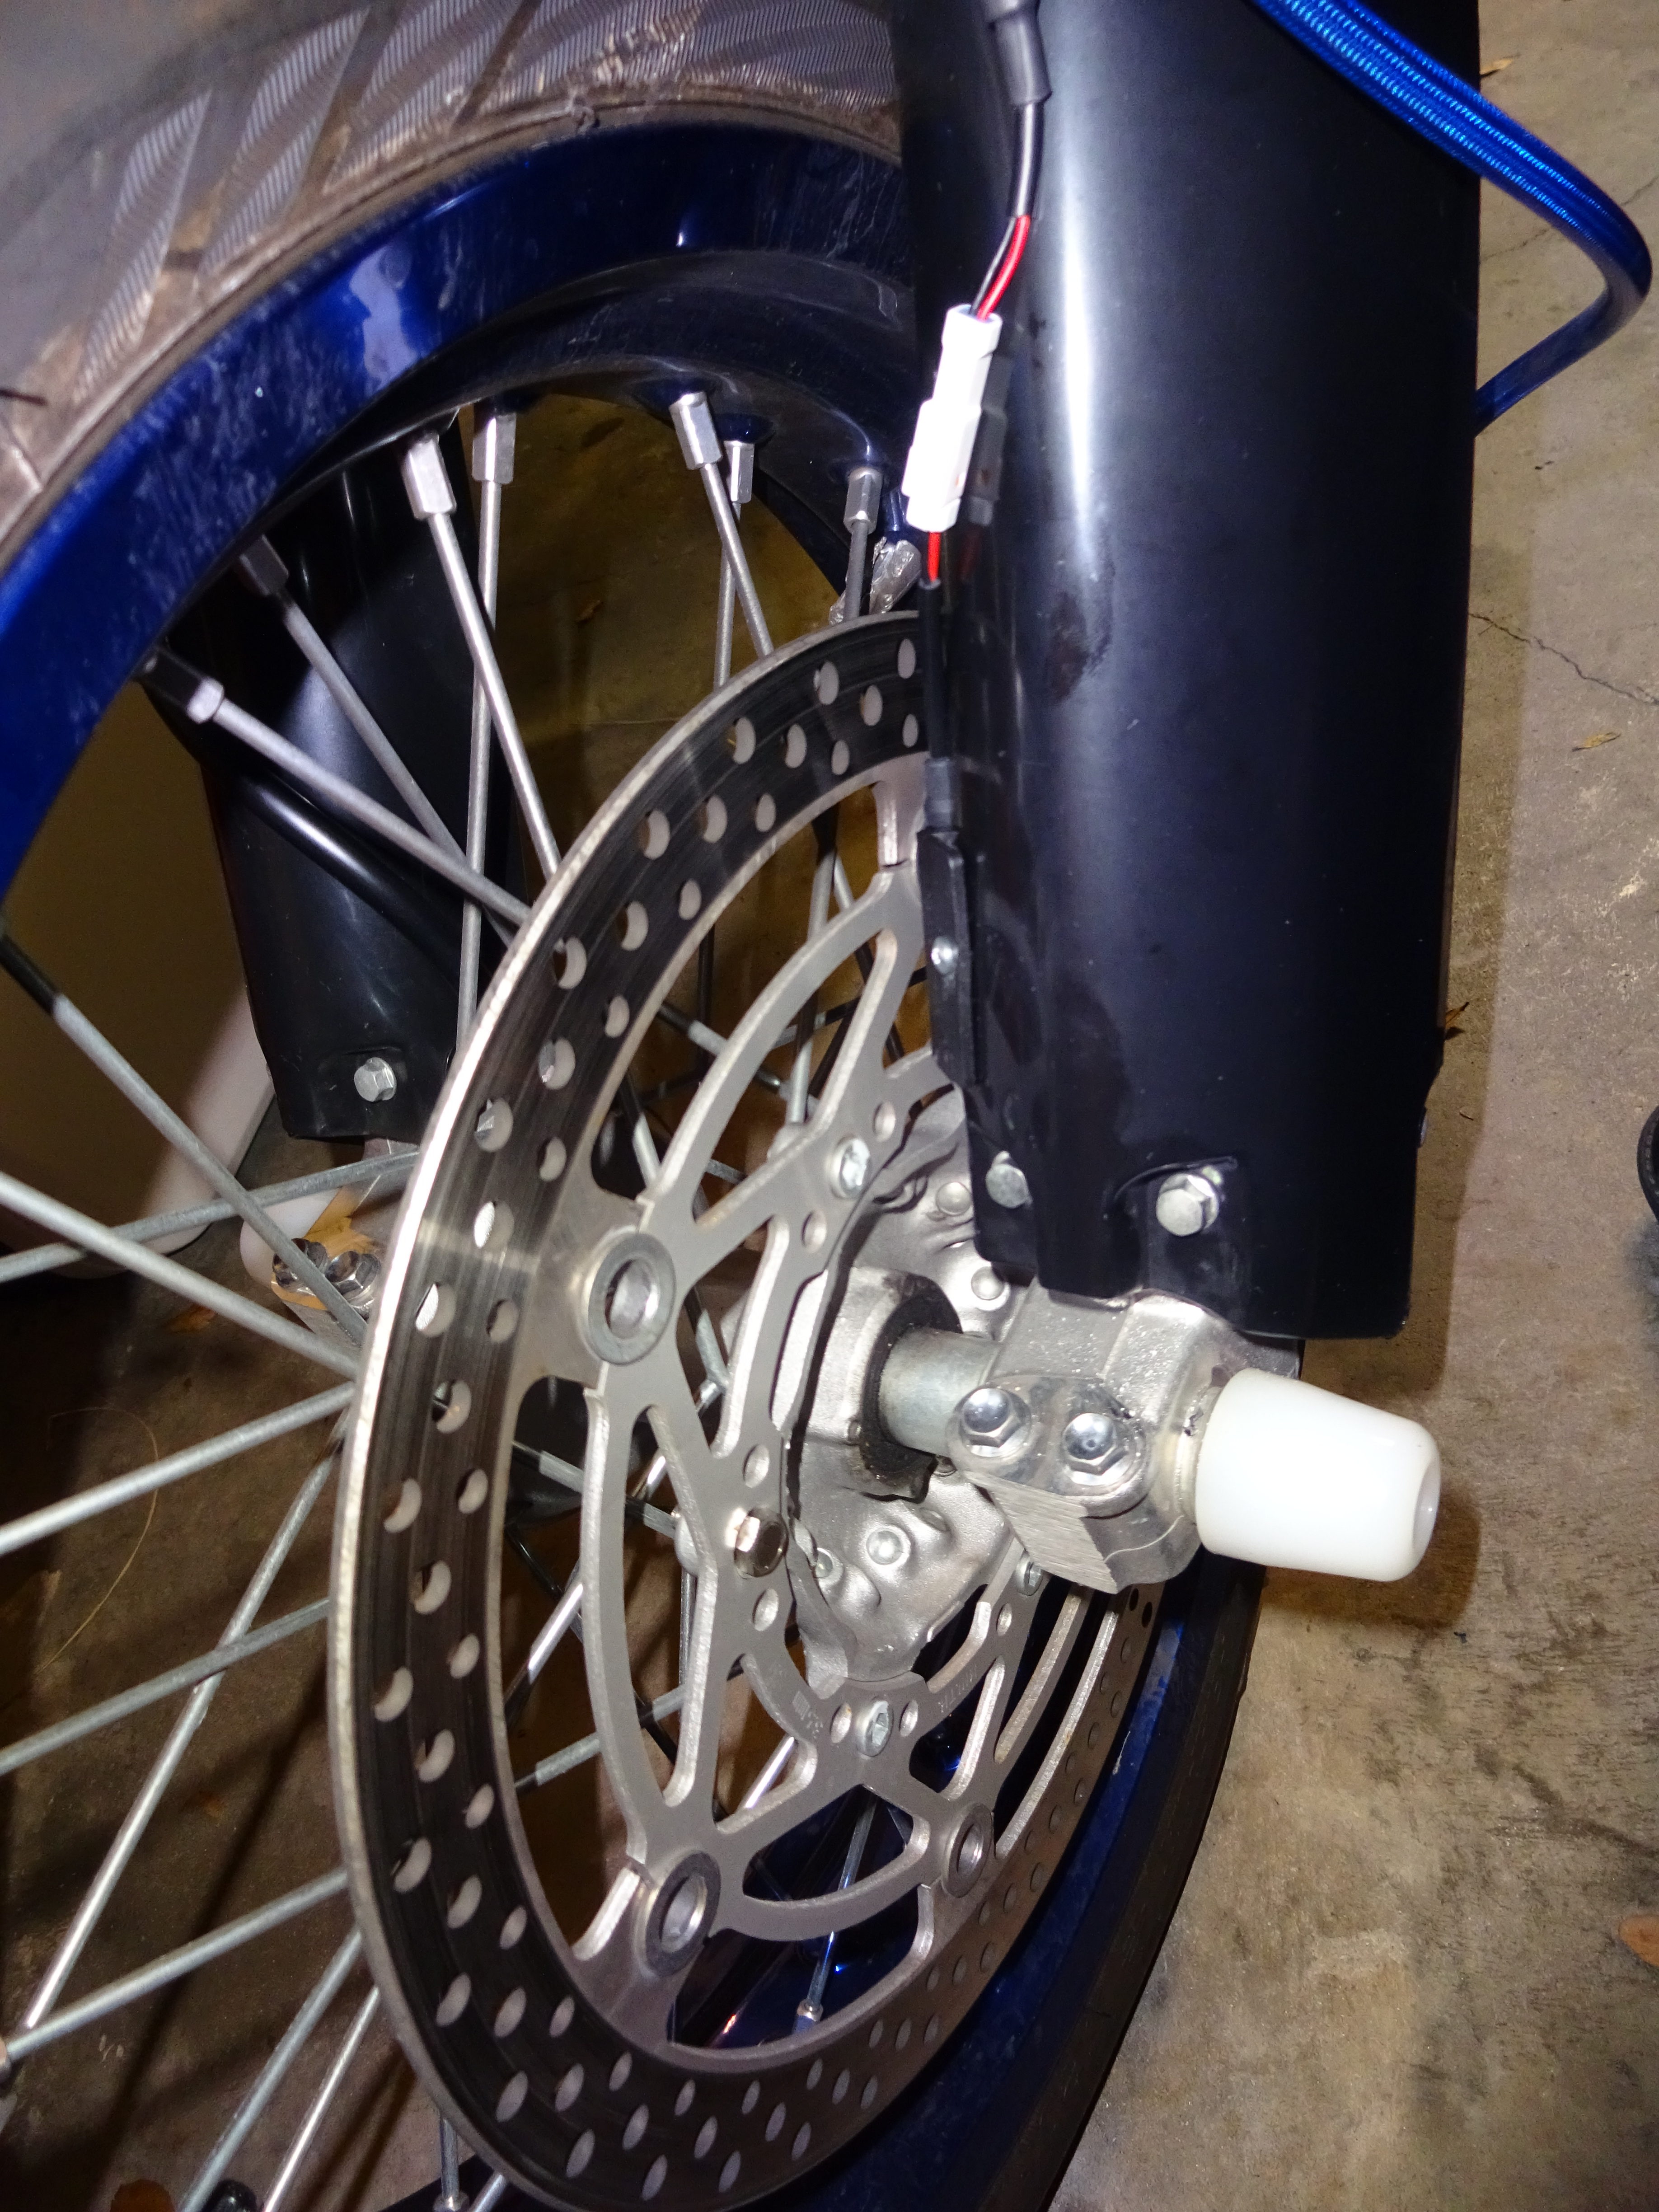
The speedometer sensor is a magnet that gets installed on the rotor and a sensor that picks up the magnet at each revolution. I used the shorter of the two included magnetic rotor screws to replace one of the stock rotor screws.
Now, the manual suggests drilling into the front brake caliper bracket for the sensor mount. This does NOT work for the SM model because the front rotor is larger for street use. I don’t have an S or an E model, so I can’t confirm if it’s a good spot for those.
Anyway, I just drilled into the front fork guard instead at a point that would be close enough to the magnet as it passes.
4: Radiator

There are two versions of the radiator sensor for the Vapor. I got the 752-301 model specifically because it uses a screw that simply replaces the pressure relief screw in the radiator and doesn’t require any cutting of the radiator hoses. When replacing the screw, remember not to overtighten it as it is a hollow brass screw that can break easily. The manual recommends finger tight plus 1/4 turn. I can confirm that this mounting location DOES work on the SM model even though many configurators say it doesn’t.
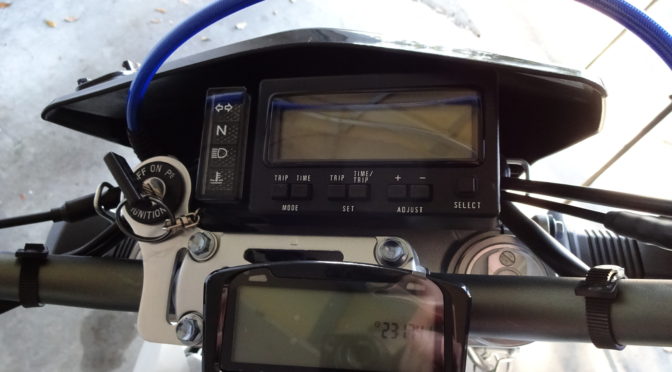
Conclusion
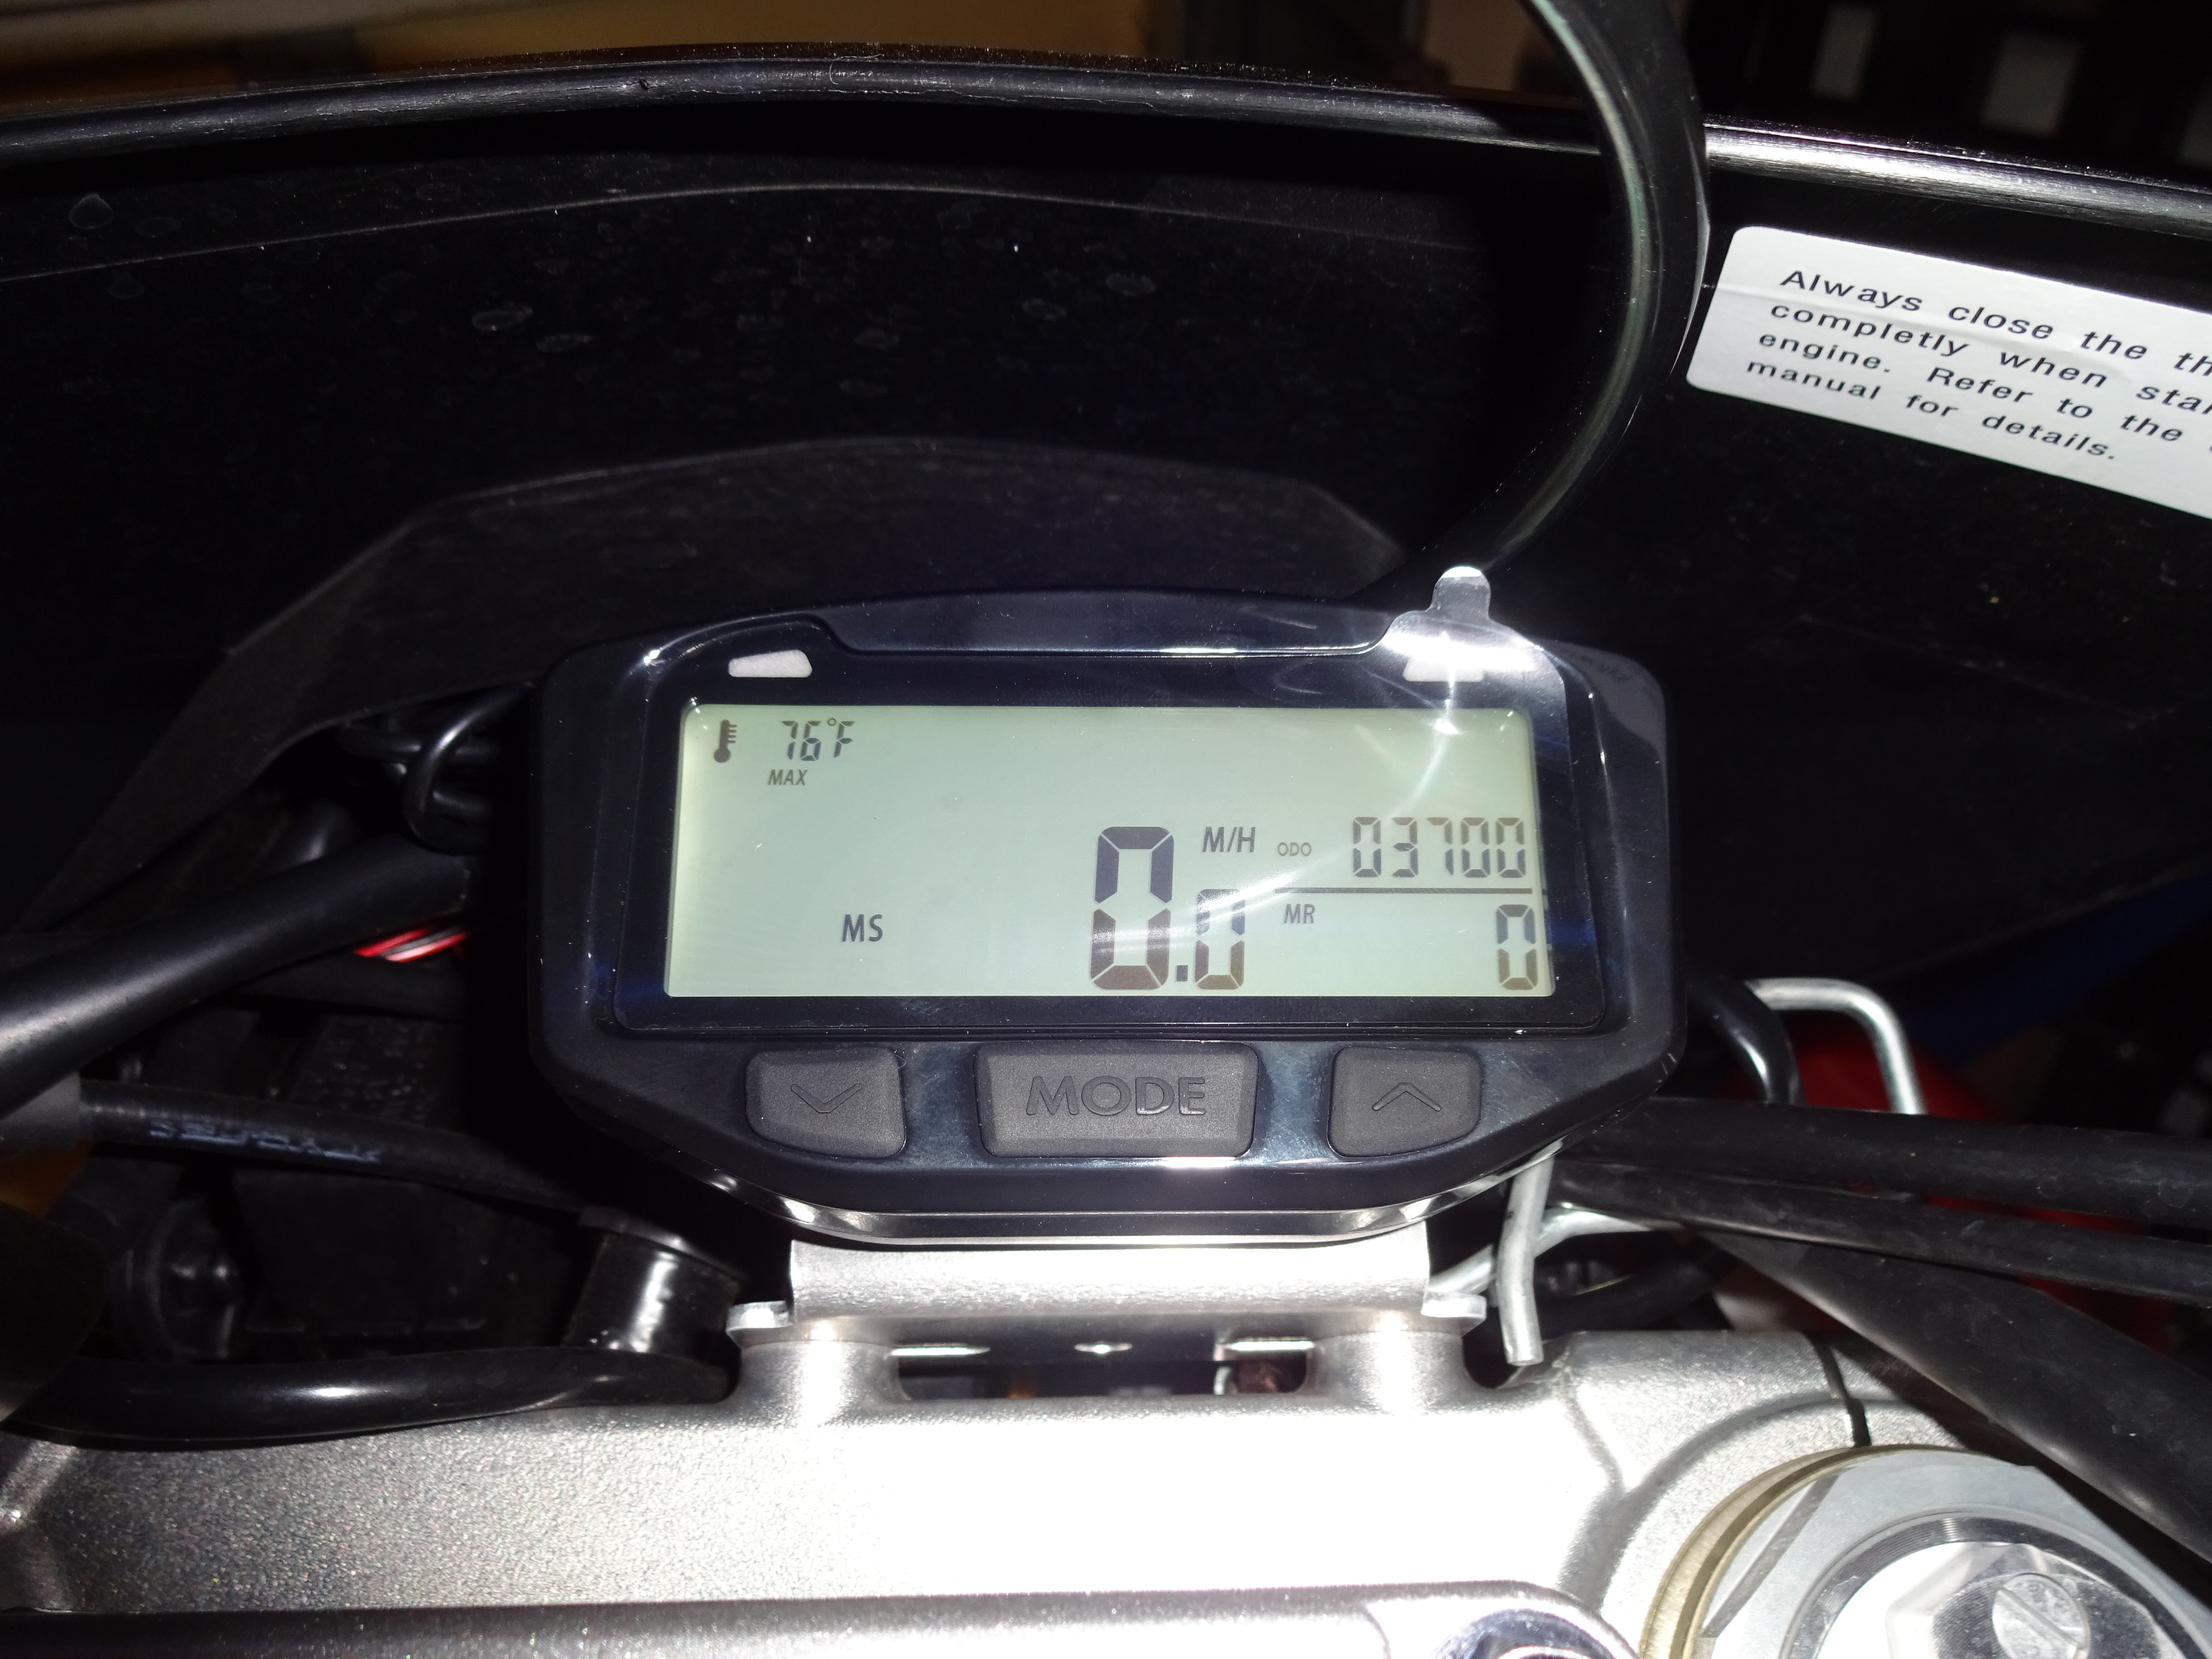
That’s all, it was a pretty simple installation once i got a few of the unknowns worked out. The manual offers very good instructions for initial setup of the unit. I used 1 Pulse per Revolution and 1884mm as the wheel size (not confirmed, but i will double check later if it’s accurate).
And, when reconnecting the gas tank, remember that there are TWO hoses to reattach. That second smaller one is easy to miss and forget. My bike wouldn’t hold idle for more than a couple seconds because I forgot to reattach it. I wound up removing and cleaning the carburetor because I thought I may have gotten something in the line, but it was just my stupidity and forgetting to connect the secondary hose.
I hope this write-up and video were useful. Feel free to ask any questions or post comments in the comments section!